When spending a lot of time drawing or painting, it's important to have a comfortable workspace arrangement. A desk or regular kitchen table isn't ideal for large drawings as it requires you to lean over the paper, which can get pretty uncomfortable after a couple hours. In addition, looking at your paper from an angle (instead of looking straight at it) can distort the perspective of the image you're creating.
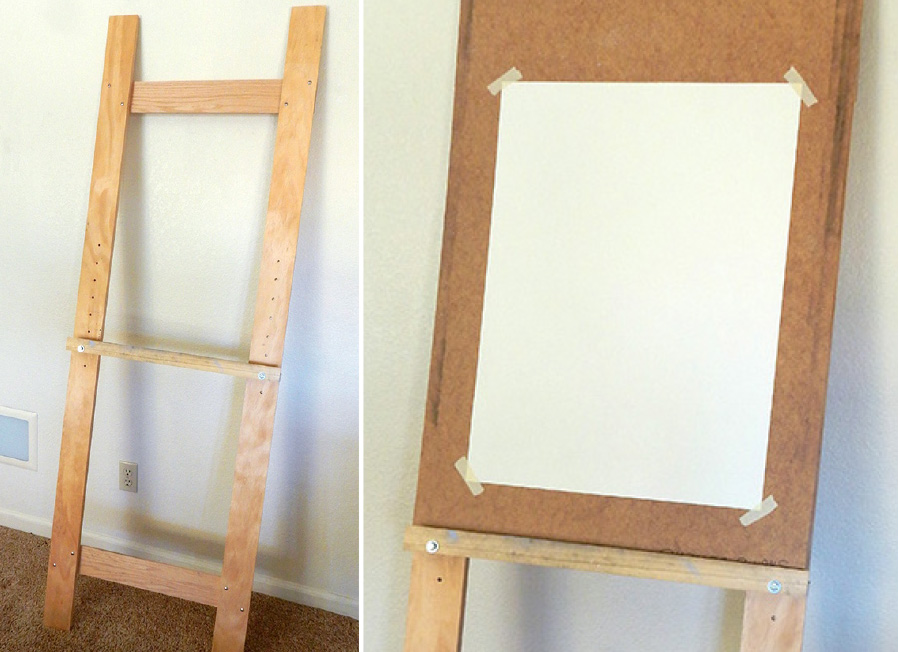
There are many types of easels. Depending on the quality and style, purchasing an easel can be very expensive. One alternative to purchasing an easel is to build your own. Below are photos of the easel that I designed, and step-by-step instructions (with pictures!) on how to build one for yourself.
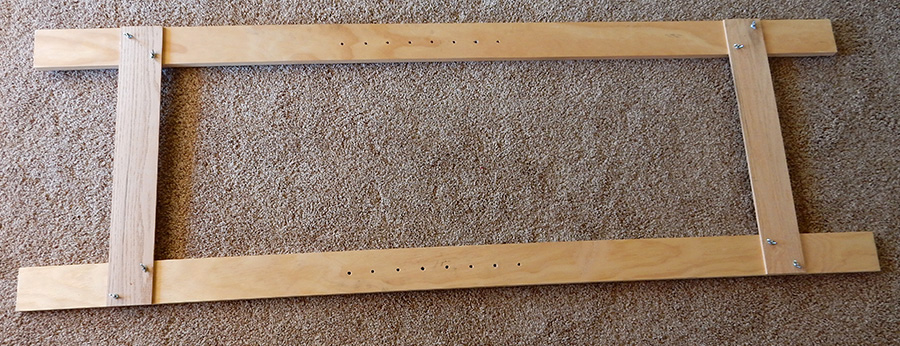
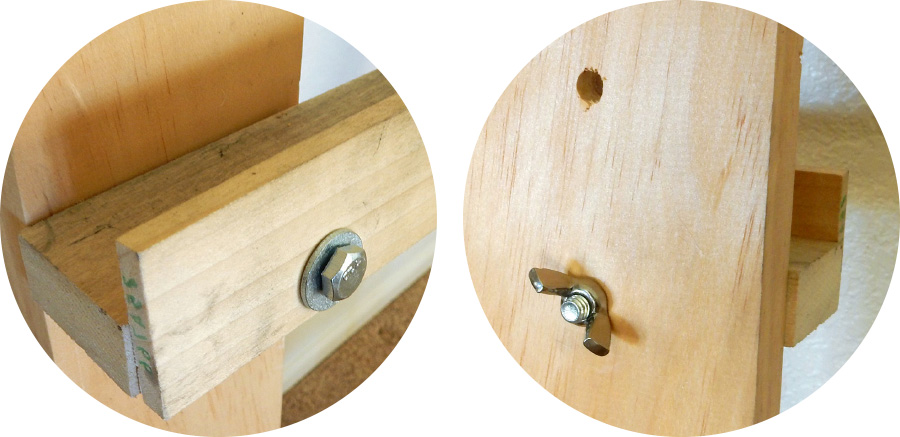
This simple leaning easel consists of a large wooden frame (held together with screws) and a shelf for holding a drawing board and paper. The shelf can be lowered or raised in height. This easel is quick, cheap, and easy to build. It's also fairly sturdy and can easily be completely disassemble, if needed. The biggest disadvantage to this easel design is that it requires a wall to lean-up against. This isn't always as practical as a stand-alone easel.
Materials & Equipment
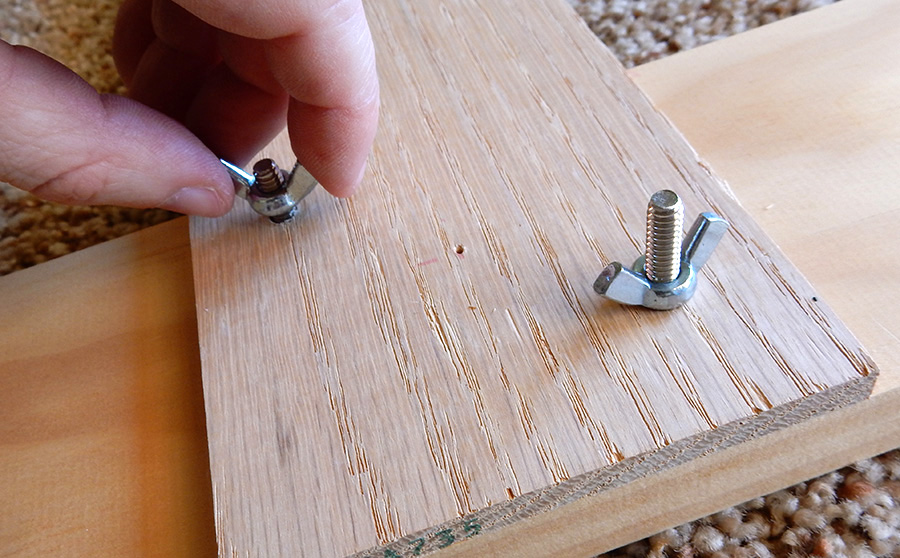
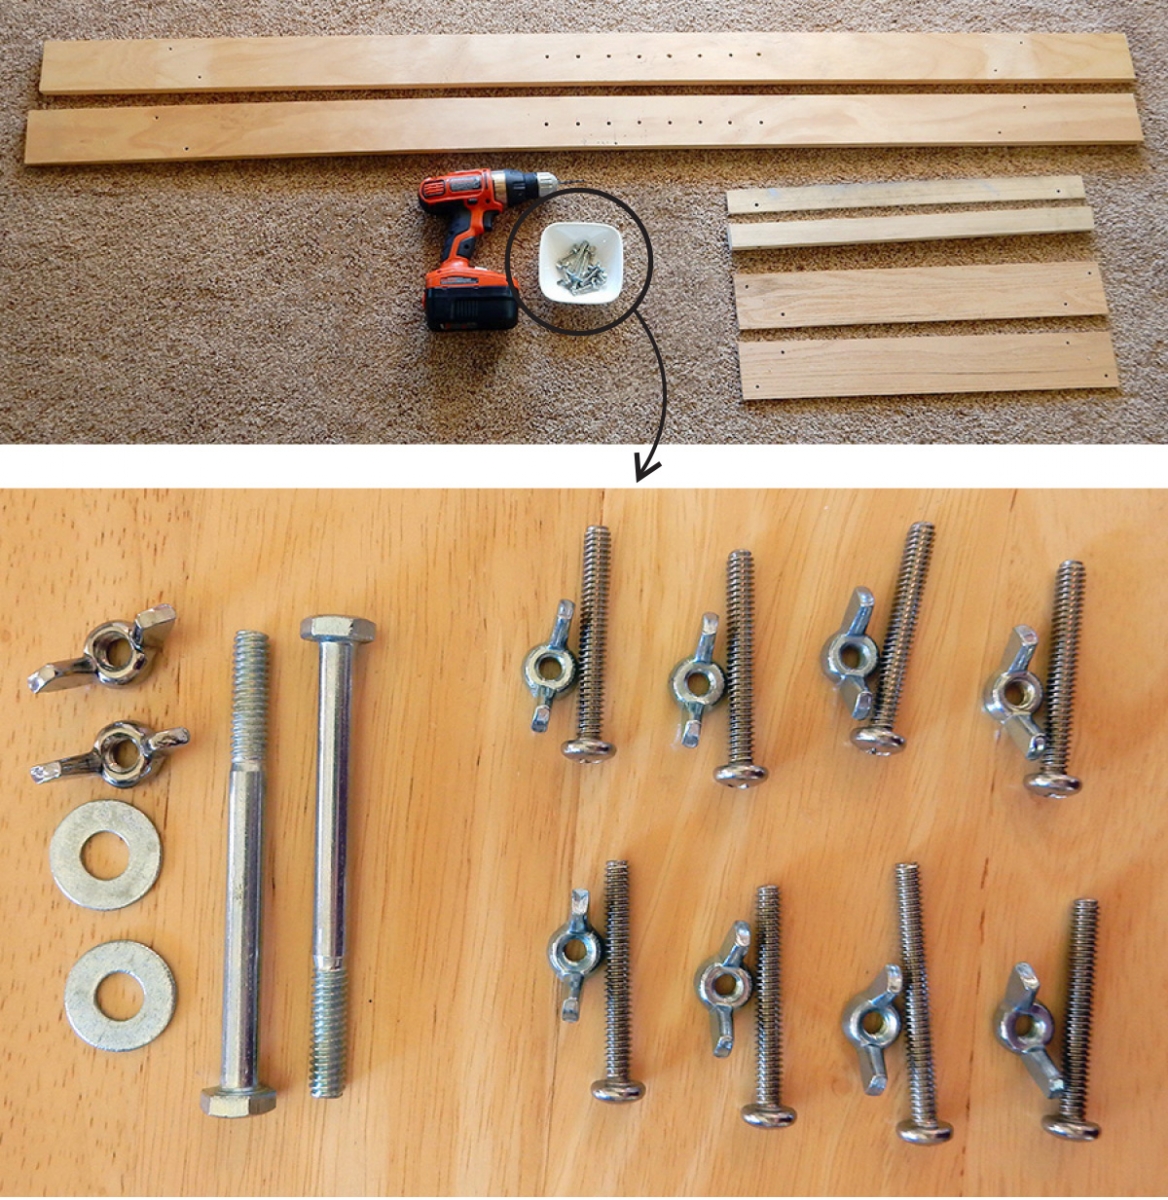
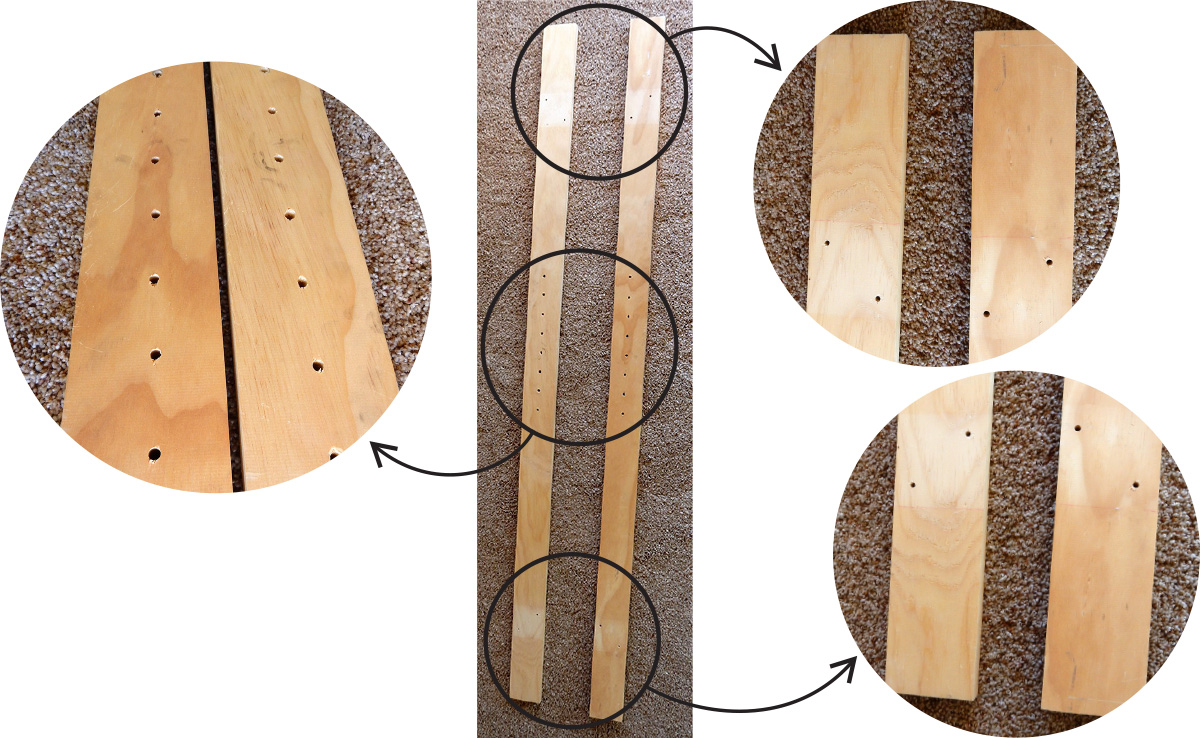
This tutorial assumes you have working knowledge of how to use a drill, and how to take measurements to determine where to correctly drill holes. Below is a list of the materials and equipment you will need. Measurements of the boards for the easel pictured above are included as reference, but feel free to modify these as needed. I used wing nuts because they're easy to tighten and unscrew by hand, but many other types of nuts will work equally well.
- Wooden boards
2 long boards (72" x 3.5" x 0.75")
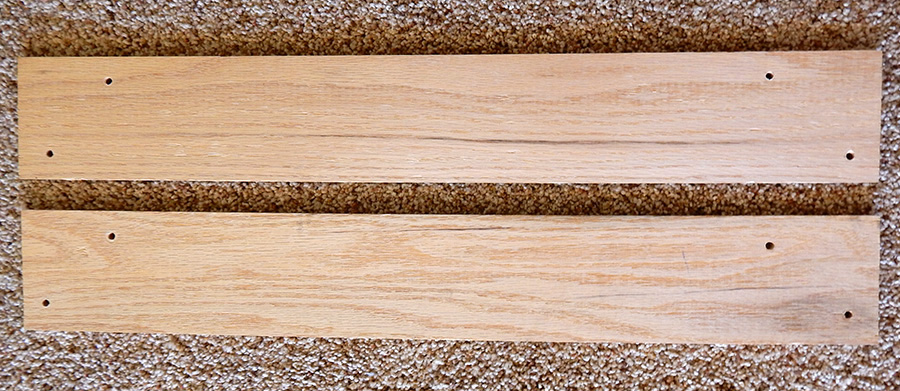
2 transverse boards (24" x 3.5" x 0.25")
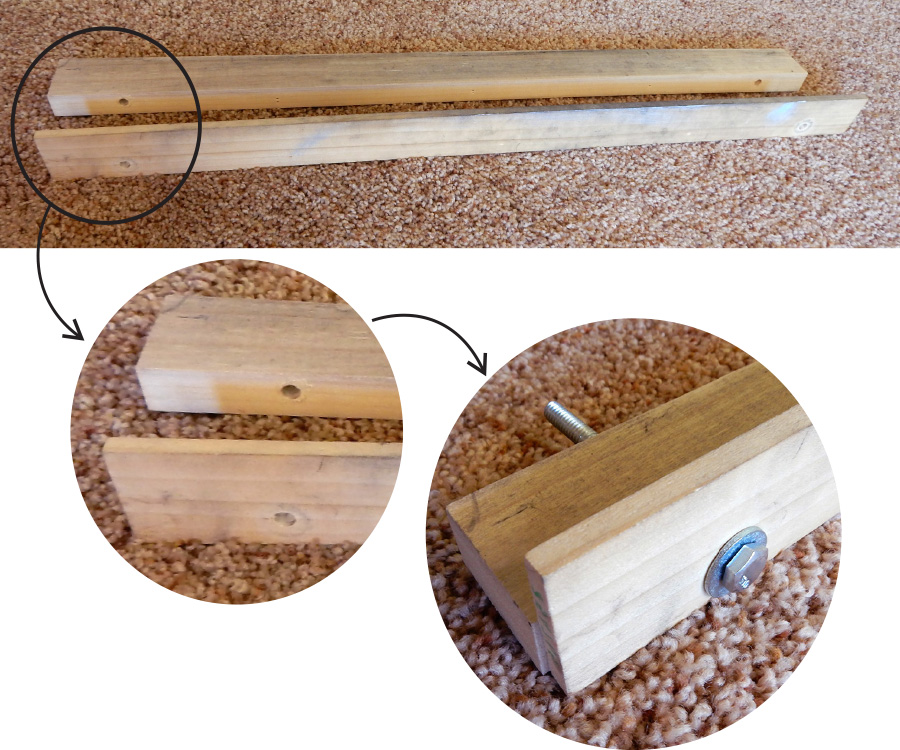
1 shelf bottom board (24" x 1.5" x 0.75")
1 shelf front board (24" x 1.5" x 0.25") - Screws, washers & nuts
8 short screws (at least 1.5" long)
2 long screws (at least 3" long)
10 wing nuts (that fit the long and short screws)
2 washers (that fit the long screws, optional) - Equipment
Drill and drill bits
Ruler or measuring tape
Pen, marker or pencil (for marking measurements for holes)
Sandpaper (optional) - Other:
A drawing board (to support sheet of paper, not attached to the easel)
Let's Begin!
We will begin by building the frame of the easel, followed by building the shelf. Lastly, we will attach the shelf to the frame. If your boards are roughly cut, you should first use sandpaper to smooth out the sides, corners, and other rough areas.
